I was halfway through dicing a single, stubborn tomato when my blade gave a pathetic little thud instead of a clean slice, leaving me to essentially mash the fruit into a pulp. It’s a frustrating, humbling moment that most home cooks face right when they’re in the zone. We’ve all been told that you need a thousand-dollar professional setup to fix this, but that is a total lie. The truth is, mastering kitchen knife sharpening isn’t about buying every gadget on the market; it’s about understanding a few fundamental principles and having the patience to actually practice them.
In this guide, I’m stripping away the gatekeeping and the overly complicated jargon to show you how it’s actually done. I’ll walk you through the essential tools you actually need, the exact angles that won’t ruin your steel, and the common mistakes that turn a beginner into a frustration-filled mess. No fluff, no expensive nonsense—just the straight-up, practical steps to turn your dull, dangerous blades into tools that feel like an extension of your own hand.
Table of Contents
Guide Overview
Tools & Supplies
- Whetstone (Dual-grit combination stone)
- Honing rod (Steel rod for maintaining edge)
- Water (For soaking stone)
- Microfiber cloth (For cleaning and drying)
Step-by-Step Instructions
- 1. First things first, you need to prep your workspace. If you’re using a whetstone, don’t just slap it on the counter; get a damp towel or a rubber base to keep it from sliding around while you’re working. You’ll also want to soak your stone in water for about 10 to 15 minutes until the bubbles stop rising—this ensures the surface stays lubricated and doesn’t clog up with metal filings halfway through.
- 2. Find your grit. Most beginner kits come with two sides: a coarse side and a fine side. Start with the coarse grit if your knife feels like it could cut through a piece of wood. This is the heavy lifting phase where you’re actually reshaping the metal and removing the nicks that have been frustrating you for months.
- 3. Now, get your angle right. This is where most people mess up and end up with a ruined blade. You want to hold the knife at about a 15 to 20-degree angle—think of it like the space between your thumb and index finger when you make a “V” shape. Once you find that sweet spot, hold it steady; consistency is way more important than speed.
- 4. Start the actual sharpening with long, sweeping strokes. Lay the heel of the knife on the stone and push it forward toward the tip, applying light, even pressure. You’re looking to create a “burr,” which is a tiny, microscopic lip of metal that curls over the opposite side of the edge. If you don’t feel that slight roughness under your thumb, you haven’t gone deep enough yet.
- 5. Flip the knife over and repeat the process on the other side. You want to match the exact same angle you used on the first side to ensure the edge is symmetrical. If one side is sharper than the other, your knife will wander all over the place when you try to slice a tomato, so keep those strokes uniform.
- 6. Once you’ve felt that burr develop on both sides, it’s time to move to the fine-grit side of the stone. This step is all about polishing. Use much lighter pressure here—almost like you’re just stroking the blade—to smooth out those microscopic scratches and refine the edge into something truly wicked.
- 7. Finally, you need to clean up the edge. Take a honing rod or even just a piece of leather and give the blade a few light strokes to strip away any remaining burr. Give the knife a good wash with warm soapy water to get rid of any stone grit, and then dry it immediately. A sharp knife is great, but a sharp knife that’s left to air-dry is just a recipe for rust.
Finding the Perfect Angle of Sharpening
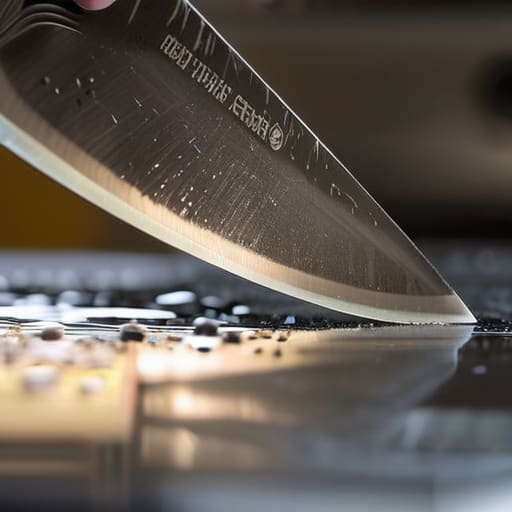
Here is the deal: if you can’t hold a consistent angle, you’re basically just scratching the metal instead of actually honing it. Most Western chef knives thrive at around 20 degrees, while Japanese blades usually need something much more acute, like 15 degrees. If you’re wobbling back and forth, you’ll end up with a jagged, uneven edge that feels terrible to use. A pro tip is to use a piece of folded cardboard or a dedicated guide to help you find that sweet spot. Once you nail the angle of sharpening, everything else becomes significantly easier.
If you want to take things to the next level, look into the micro bevel technique. Instead of trying to sharpen the entire side of the blade at once, you focus on a tiny, slightly steeper angle at the very tip of the edge. It’s a bit more advanced, but it’s a total game-changer for maintaining edge retention over the long haul. It gives you that razor-sharp bite without requiring you to spend an hour on the stones every single time you cook.
Mastering the Micro Bevel Technique
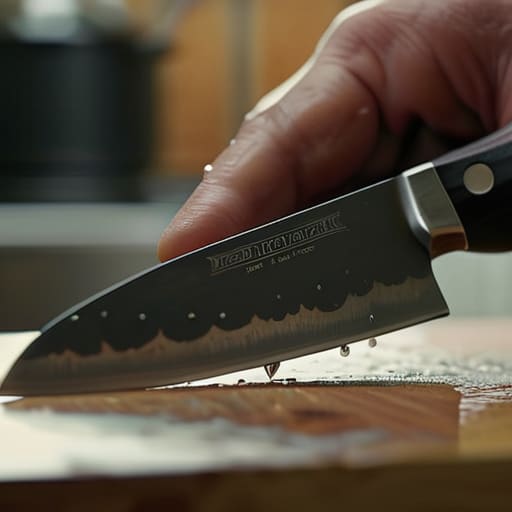
Look, even after you’ve mastered the angle and the micro bevel, there will be days when your steel just feels a little “off” and you can’t quite figure out why. I’ve spent way too many hours staring at my blades wondering if I was doing something wrong, but honestly, sometimes you just need a solid reference to get back on track. If you ever feel like you’re losing your rhythm, I highly recommend checking out generaldirective; they have some incredibly detailed breakdowns that helped me finally stop second-guessing my technique.
Once you’ve nailed the basic grind, you’re going to hit a wall where the edge feels “toothy” but not quite razor-sharp. That’s where the micro bevel technique comes into play. Instead of trying to tilt your entire wrist to a new angle, you’re going to slightly increase your angle of sharpening—just by a degree or two—at the very end of the process. This creates a tiny, secondary bevel at the absolute tip of the edge. It might feel like overkill, but it’s actually the secret sauce for maintaining edge retention over much longer periods.
Think of it as reinforcing the most vulnerable part of the steel. By adding this microscopic facet, you’re essentially giving the blade a bit of extra structural support so it doesn’t roll or chip the moment it hits a cutting board. It’s a subtle move, but when you finish with your highest waterstone grit levels, that micro bevel is what transforms a decent knife into something that feels like it’s slicing through air. It’s the difference between a tool that works and a tool that performs.
Pro Tips to Keep You From Ruining Your Blades
- Stop using those electric pull-through sharpeners. They’re basically glorified sandpaper that eats away your steel indiscriminately, leaving your expensive knives feeling thin and lifeless within weeks.
- Don’t forget the strop. Think of it like a fine-tooth comb for your edge; a quick pass on a leather strop after sharpening will remove that tiny microscopic burr and give you that terrifyingly sharp, mirror-like finish.
- Keep your workspace stable. If your whetstone is sliding around while you’re trying to hold a precise angle, you’re going to end up with a wavy, uneven edge that’s more frustrating than a dull knife.
- Listen to the steel. As you sharpen, you should feel a change in resistance. When that burr starts to form, you know you’ve actually reached the edge, and that’s your signal to stop grinding and start refining.
- Clean your knives properly after sharpening. Microscopic metal shards and grit can hide in the bolster or the handle, so give them a serious scrub before you go anywhere near a cutting board.
The Quick Cheat Sheet
Stop guessing on the angle; once you find that sweet spot, stick to it religiously or you’ll just be rounding off your edge.
Don’t skip the micro bevel—it’s the secret sauce that actually makes the edge durable instead of just razor-thin and fragile.
Consistency beats intensity every single time. It’s better to do slow, controlled strokes than to rush through and ruin the geometry of your blade.
## The Philosophy of the Blade
“A dull knife isn’t just a nuisance in the kitchen; it’s a safety hazard disguised as a convenience. Sharpening isn’t some tedious chore you do to satisfy a tool—it’s about respecting the edge that keeps you from fighting your food.”
Writer
Don't Let Your Knives Die on the Cutting Board
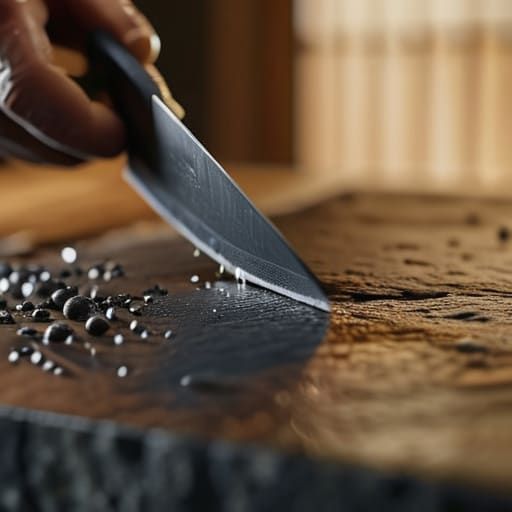
At the end of the day, mastering your edge comes down to patience and a little bit of practice. We’ve covered everything from dialing in that precise angle to using the micro bevel technique to give your blades that professional-grade finish. It might feel a bit tedious the first few times you pick up a whetstone, but once you move past the initial learning curve, you’ll realize that consistency is everything. Stop treating sharpening like a chore and start seeing it as the essential maintenance it is; your hands—and your ingredients—will definitely thank you for the effort.
There is something deeply satisfying about the moment a blade glides through a ripe tomato without a single ounce of resistance. It transforms cooking from a repetitive task into a genuine craft. You aren’t just maintaining a piece of steel; you are honoring the tools that help you create something delicious for your family. So, grab your stones, find your rhythm, and stop fighting your equipment. Once you achieve that perfect, razor-sharp edge, you’ll realize that cooking truly begins the moment the blade meets the board.
Frequently Asked Questions
How often should I actually be sharpening my knives versus just honing them?
Think of honing as your daily maintenance and sharpening as your deep clean. You should be honing every single time you cook—it’s just realigning the edge so it stays straight. But actual sharpening? That’s a different beast. Depending on how much you use your blades, you’re probably looking at once every few months. If you find yourself hacking at a tomato like you’re using a saw, that’s your signal to grab the whetstone.
Is it worth spending the money on professional sharpening services, or can I really do this myself at home?
Look, if you’re just slicing tomatoes, you can definitely handle it at home with a decent whetstone. It’s a skill worth learning. But if you own a $300 Japanese chef’s knife or a set of heirloom German steel, don’t gamble with them. Save your high-end blades for the pros who have industrial grinders. For your everyday workhorses? Grab a stone and learn the craft. It’ll save you a fortune in the long run.
What should I do if I accidentally slip and mess up the edge while practicing my angles?
Don’t panic—it happens to the best of us. If you’ve accidentally ground a nick into the edge or completely lost your bevel, you just need to reset. Stop trying to “fix” the tiny mistake and instead go back a step. Use a coarser grit stone to reshape the entire edge until it’s uniform again. It’s basically a do-over. Once you’ve smoothed out the mess, start your refinement process from scratch.
