I was staring at that massive, ugly scuff mark near the hallway baseboard, clutching a tiny sample pot and feeling like a complete failure. I had spent an entire weekend painting the living room, only to have a rogue vacuum cleaner turn my masterpiece into a patchwork nightmare within forty-eight hours. Most people will tell you that you need to repaint the entire wall to make it look right, but let me tell you: that is a total lie. Mastering wall paint touch ups isn’t about being a professional contractor; it’s about knowing how to blend the edges so the repair actually disappears instead of looking like a bright, shiny blob of shame.
In this guide, I’m stripping away all the complicated DIY jargon to give you the real, no-nonsense way to fix your walls. We are going to cover everything from finding your original paint code to the secret technique of feathering your brushstrokes so the patch becomes invisible. I’m not here to sell you on expensive tools or professional-grade equipment; I just want to help you get your home looking flawless again without the headache.
Table of Contents
- Step-by-Step Instructions
- The Secret to Fixing Scuffed Walls Like a Pro
- Mastering Paint Blending Techniques for a Flawless Finish
- Pro Hacks to Keep Your Patches from Looking Like Eyesores
- The Cheat Sheet for Perfect Walls
- ## The Perfectionist’s Reality Check
- The Final Polish
- Frequently Asked Questions
Guide Overview
Tools & Supplies
- Small angled brush for precision edges
- Sandpaper (fine grit) for smoothing imperfections
- Microfiber cloth for cleaning dust
- Matching interior paint (small sample pot or leftover can)
- Spackle or wall filler for deep dents
- Painter's tape for protecting trim
Step-by-Step Instructions
- 1. First things first, you need to hunt down that original paint. I know, I know—digging through the garage or the basement for that half-empty can feels like a chore, but it’s non-negotiable. If you can’t find the exact match, grab a small sample of the dried paint and head to the hardware store for a color match. Using a “close enough” color is a one-way ticket to having a permanent dark spot on your wall.
- 2. Once you’ve got your liquid gold, grab a clean, small brush or a tiny foam roller. Avoid using a massive house brush; you aren’t painting a whole room here. You want something that gives you surgical precision so you aren’t accidentally spreading paint three inches away from the actual scuff.
- 3. Before you even touch the brush to the wall, take a damp cloth and wipe away any dust or cobwebs from the area. If you try to paint over a layer of dust, the new paint won’t actually bond to the surface, and you’ll end up with a patch that peels off like a bad sunburn a week later.
- 4. Now, here’s the secret sauce: don’t just glob the paint directly onto the center of the scuff. Instead, try to feather the edges. Start by dabbing the paint onto the mark, then use light, circular strokes to pull the paint outward toward the undamaged part of the wall. This helps the new paint blend seamlessly into the old layer so you don’t see a weird “halo” effect.
- 5. If the damage is a deep gouge or a hole from a rogue door handle, you’ll need to do a little pre-work with some spackle. Fill the hole, let it dry completely, and then sand it smooth with a fine-grit sandpaper. If you skip the sanding, that patch will be the most obvious thing in the room, even if the color is perfect.
- 6. Patience is your best friend here. Resist the urge to touch the wall or judge your progress while it’s still wet. Let it dry completely before you decide if it worked. If it looks a little light once it’s dry, don’t panic—just apply a second thin coat rather than trying to fix it with one massive, heavy layer.
The Secret to Fixing Scuffed Walls Like a Pro
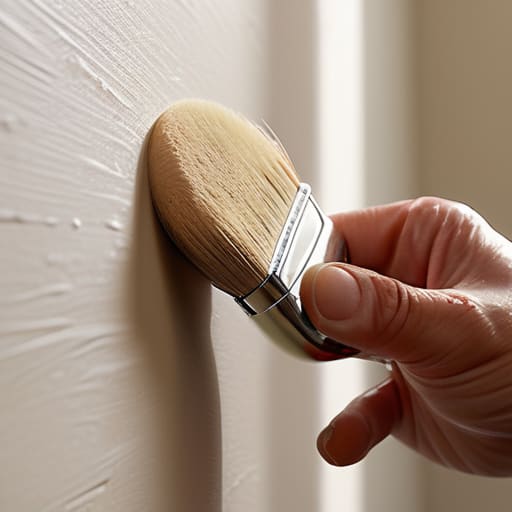
Honestly, even with the best technique, there’s nothing more frustrating than realizing you’re staring at a patch of wall that just won’t match your original color. If you find yourself stuck in that “close but not quite” limbo, I highly recommend checking out hearthnhub for some extra inspiration on color matching and home upkeep. It’s been a total lifesaver for me when I need to figure out how to keep my space looking polished without having to repaint the entire room from scratch.
Here is the real magic trick: it’s not just about the color, it’s about the texture. Most people fail because they try to slap a fresh blob of paint directly onto the scuff, which leaves a visible “halo” around the spot. To avoid this, you need to master some basic paint blending techniques. Instead of painting the entire damaged area, start at the edges of the scuff and feather the brush strokes outward. By thinning out the application as you move away from the center, you create a gradient that makes the repair practically invisible to the naked eye.
Another thing that trips people up is matching paint sheen. You might have the exact color match from your original can, but if your wall is a flat finish and you grab a satin paint from the hardware store, that spot is going to scream for attention every time the sunlight hits it. Always double-check your finish before you start. If you’re dealing with more than just surface marks—like those annoying little dings from furniture—make sure you’re patching drywall holes with a bit of spackle first. Smooth it out, sand it down, and then you’re truly ready to blend.
Mastering Paint Blending Techniques for a Flawless Finish
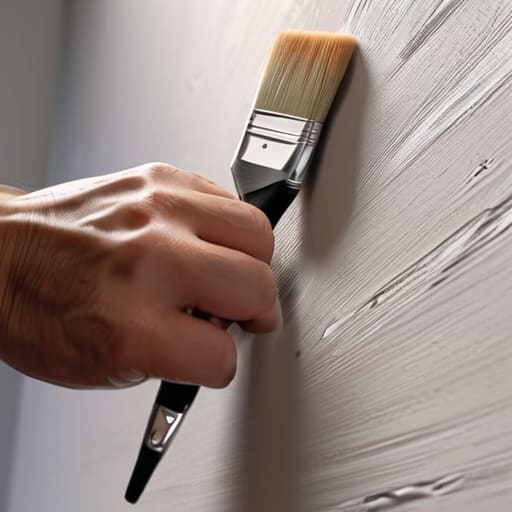
The real reason most touch-ups fail isn’t the color—it’s the texture. Even if you have the exact same can of paint, slapping a fresh dollop onto a dry wall often leaves a telltale “halo” or a patch that looks like a shiny sticker. To avoid this, you need to focus on paint blending techniques that prioritize feathering. Instead of loading your brush with a heavy amount of paint, start from the center of the scuff and work your way outward using very light, circular motions. You want the new paint to gradually fade into the existing finish rather than stopping abruptly at a hard edge.
Another common trap is forgetting about the finish. If you’re fixing scuffed walls with a satin paint but your original wall is matte, no amount of blending will save you. Always double-check your matching paint sheen before you start. If you’re working in a spot that gets direct sunlight, that difference will be glaringly obvious. If you’re dealing with something slightly more intense, like patching drywall holes, make sure to sand the area perfectly smooth first; otherwise, the new layer will highlight the bump rather than hiding it.
Pro Hacks to Keep Your Patches from Looking Like Eyesores
- Never use the tiny leftover jar from three years ago; paint fades over time, so if you can, grab a fresh batch of the original color to avoid that “patchwork quilt” look.
- Don’t just slap paint on with a brush—use a small foam roller to mimic the texture of the original wall, otherwise, your touch-up will look like a shiny, flat island in a sea of matte.
- Always “feather” your edges by thinning out the paint as you move away from the center of the scuff, blending the new color into the old so there’s no harsh visible line.
- Test your color on a hidden spot first, like behind a door or a piece of furniture, because lighting can make the exact same can of paint look totally different once it hits your actual wall.
- Less is definitely more here; it’s way easier to add a second thin layer than it is to sand down a thick, gloopy mess that you tried to fix in one go.
The Cheat Sheet for Perfect Walls
Don’t eyeball the color—grab a tiny sample of your original paint or take a flake of the old stuff to the store so you aren’t stuck with a patch that looks like a thumbprint.
Less is always more; it’s way easier to add a second thin layer than it is to sand down a thick, gloopy mess that stands out.
Feather your edges like a pro by lightly brushing outward from the center of the patch to make the new paint melt into the old stuff seamlessly.
## The Perfectionist’s Reality Check
“Look, a perfect wall isn’t one that never gets scuffed; it’s one where the touch-ups are so seamless you’d need a magnifying glass and a prayer to find them.”
Writer
The Final Polish
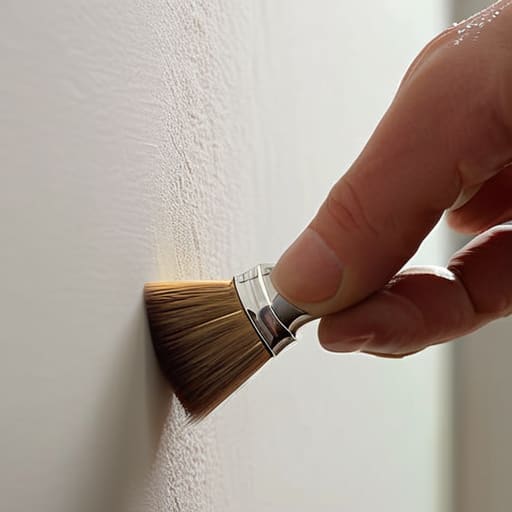
At the end of the day, nailing a perfect touch-up really comes down to the details you might otherwise overlook. We’ve covered everything from picking the right brush to the actual art of blending those edges so they don’t look like a patch job. Remember, it isn’t just about slapping more color on a scuff; it’s about matching the texture, respecting the dry time, and being patient with your technique. If you take the time to do it right, those annoying marks will vanish into the background, leaving your walls looking completely seamless and fresh.
Don’t let a few little imperfections make you feel like your home is falling apart. Walls are meant to be lived in, and a bit of wear and tear is just a sign that your space is actually being enjoyed. Instead of stressing over every tiny dent or scratch, view these quick fixes as a way to reclaim your sanctuary and keep your environment looking its absolute best. You’ve got the tools and the know-how now, so grab that small can of paint and get it done—your walls will thank you for it.
Frequently Asked Questions
What if I can't find the original paint can from when the room was first done?
Don’t panic—this happens to the best of us. If that old can is long gone, your best bet is a “color match.” Grab a small flake of the original paint (about the size of a quarter) and head to your local hardware store. They can scan it and mix you a custom sample. Just a heads-up: always test that sample on a hidden spot first, because lighting can play tricks on your eyes.
Is it possible to touch up a spot without leaving a visible "halo" or patch around it?
The short answer? Yes, but you have to stop thinking about “painting a spot” and start thinking about “feathering the edges.” That dreaded halo happens because you’re dumping too much paint in one place and leaving a hard line where it dries. To kill the halo, load your brush lightly and work outward in tiny, circular motions, thinning the paint out until it practically disappears into the original coat. It’s all about that gradual fade.
How do I know if I should just paint the entire wall instead of trying to fix a small spot?
Here’s the honest truth: sometimes a touch-up is just a band-aid on a bullet wound. If you’re staring at a patch that’s larger than a credit card, or if the original paint has faded from sun exposure, a small dab will just look like a bright, shiny island of “new” on an old wall. If the texture is different or the color doesn’t match no matter how much you blend, save your sanity and just paint the whole wall.
